Remodeling your residential parking area takes a lot of dirty physical preparation work long before you ever apply smooth topcoats. Many local property owners look into thick polymer sealants because protecting raw concrete floors saves hours of scrubbing oil drips down the line. Laying down heavy chemical liquids over standard masonry surfaces creates an exceptionally durable shield for parking heavy pickup trucks daily. You must check the slab moisture content thoroughly before mixing up large chemical buckets inside your garage.
Scoring Your Stone Foundations
Hiring a team for an epoxy garage floor Phoenix installation project means you first have to aggressively prepare the concrete surfaces. Applying sticky liquid mixtures directly onto smooth, dusty garage floors leads to major peeling problems within a couple of months. Your professional preparation crew needs to run heavy diamond grinding machinery across the stone to open up the tight pores. Vacuuming up the fine white masonry powder helps the liquid chemical primers bond with the subfloor beautifully.
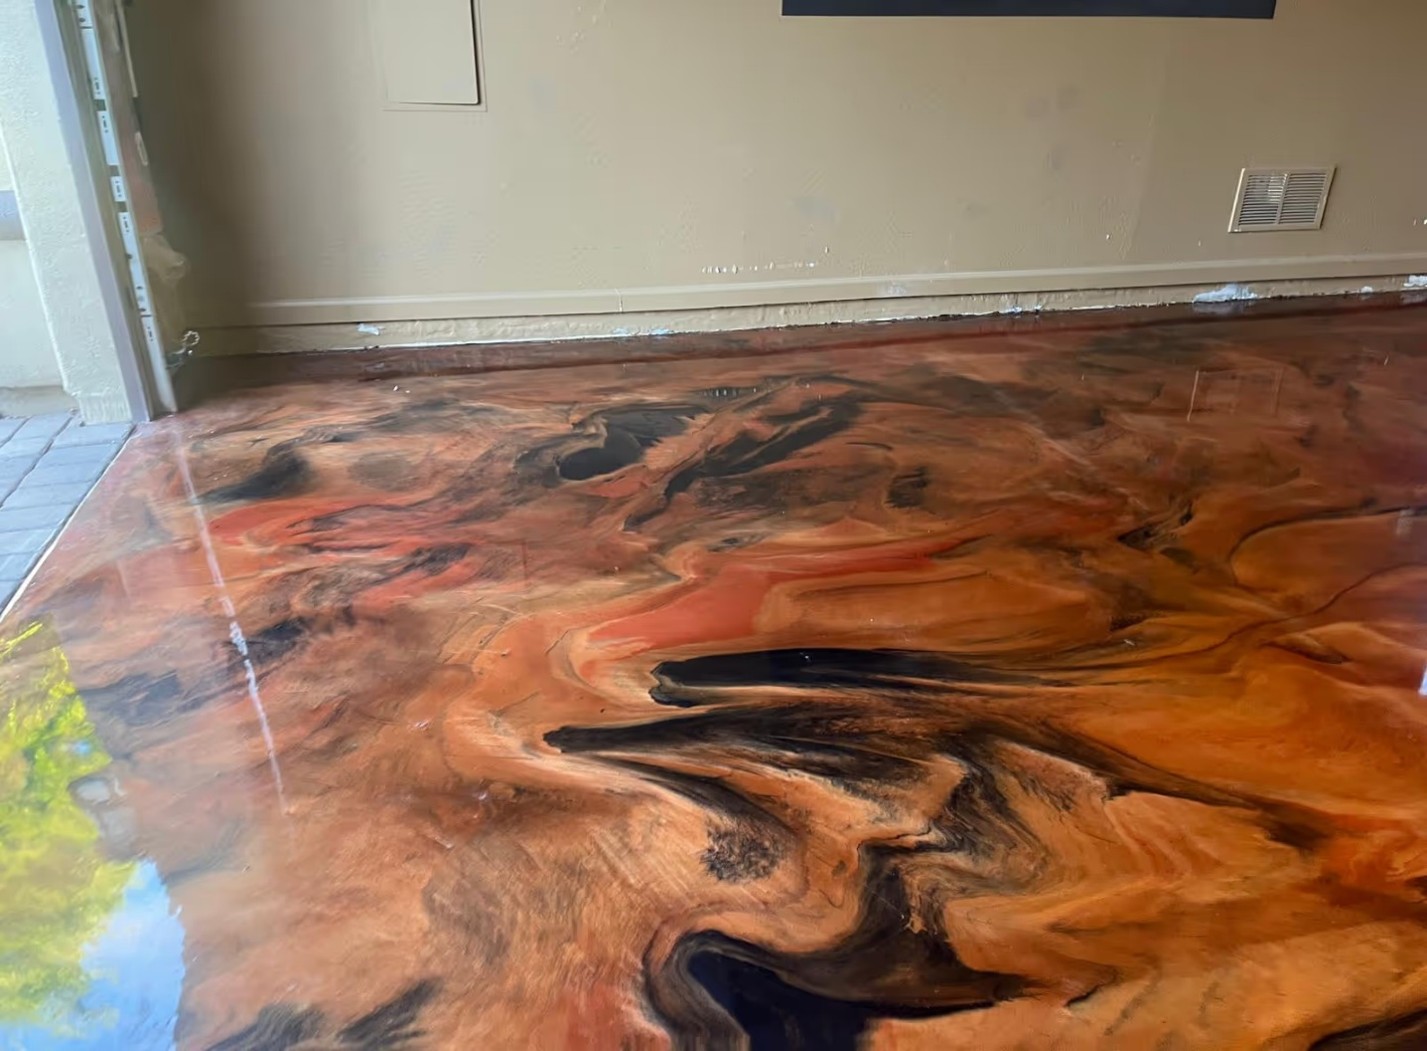
Sourcing Top Protective Coatings
Locating a trusted local firm that specializes in phoenix epoxy flooring options ensures that your hot summer tires never pull the paint up. Industrial-grade polymer mixtures require specialized chemical hardeners that help the liquid set into a rock-solid plastic barrier within twenty-four hours. You can throw decorative color flakes across the sticky wet base coat to add extra style and useful slip resistance. These rugged coatings stop battery acids and brake fluids from causing permanent gray concrete staining.
Fixing Deep Structural Cracks
Pouring fluid resins over unsealed settlement joints or deep structural holes always creates big dips in your finished top coat. Your application workers must use dense epoxy patch gels to fill in every single floor crack before rolling out any primers. Letting the heavy repair paste cure completely prevents any future air bubbles from expanding under your fresh-colored coatings. Scraping down the excess filler material ensures your final workspace layer stays flat like a professional showroom floor.
Washing Your Protected Surfaces
Leaving thick piles of scratchy dirt on top of your fresh, clear seal coat wears away the shiny, glossy finish. Your regular maintenance routine should involve running a soft microfiber broom across high-traffic areas to collect loose sand particles. You must avoid using incredibly stiff wire scrubbing tools or burning paint thinners that soften your protective chemical barrier during cleanings. Keeping your sealed garage floor tidy ensures the bright light reflectivity looks awesome for many decades.
Conclusion
Managing a domestic garage floor upgrade requires careful material planning, proper diamond tool preparation, and high-quality resin kits. Reviewing the complete list of regional installation services on dialedinepoxy.com helps homeowners understand real equipment requirements and current chemical material costs easily. Skipping your initial concrete moisture testing or using cheap water-based retail store paints always results in immediate surface bubbling and expensive floor repair bills. Experienced flooring technicians need to evaluate your home foundation strength before you mix any heavy-duty commercial resins together on your slab. Contact our local service technicians today to schedule your on-site concrete inspection and choose a beautiful new color configuration.